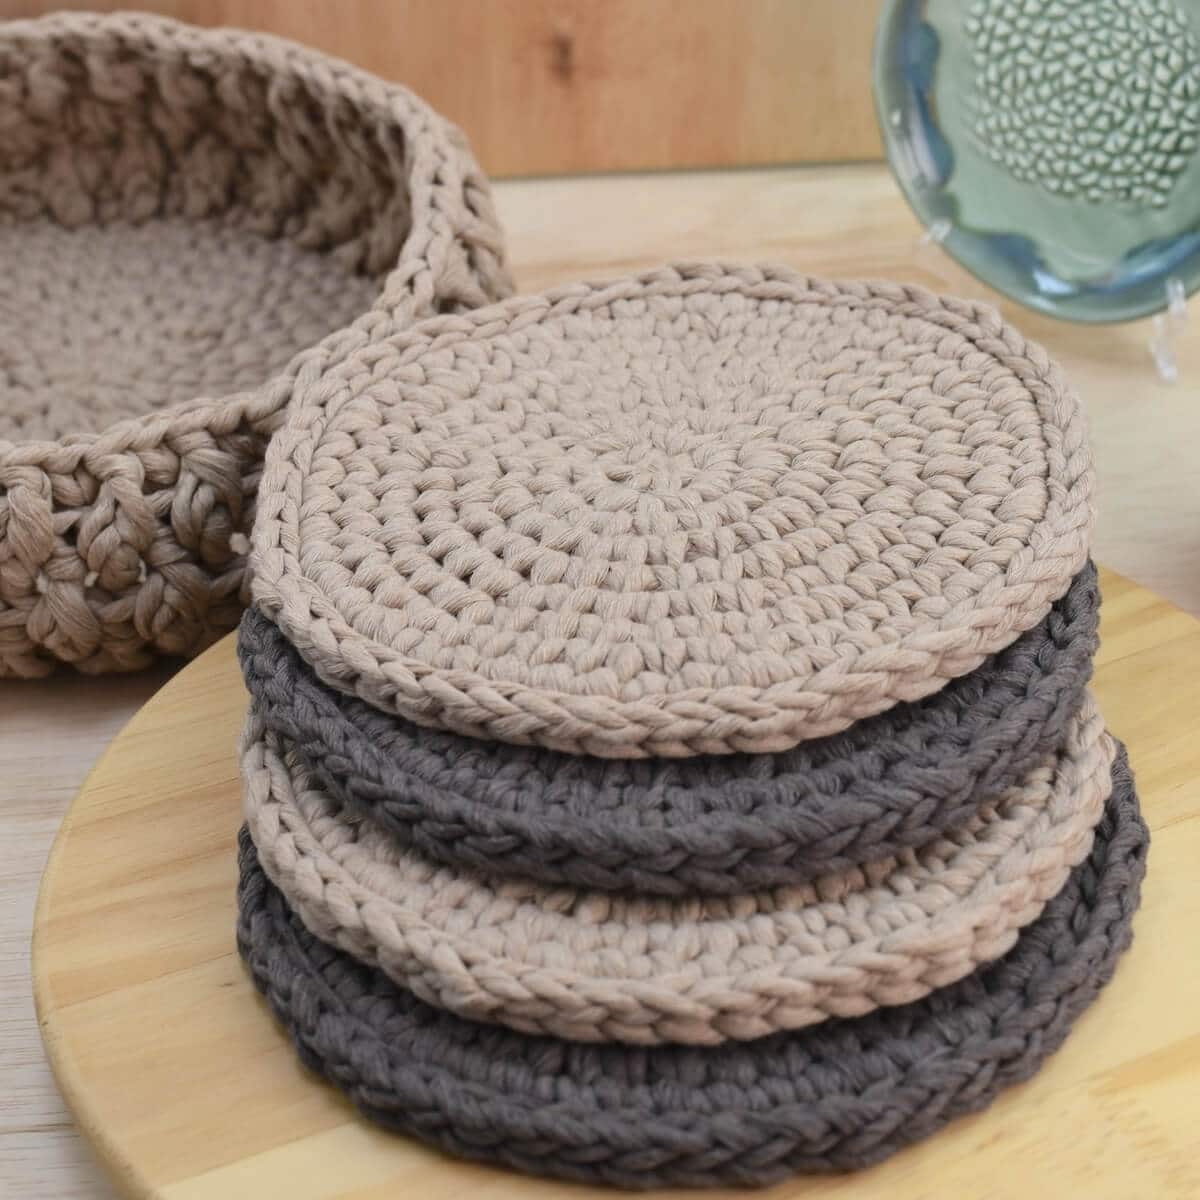
I came up with a fun idea for a round, super-thick pot holder crochet pattern that you will probably enjoy! With these easy and free instructions, you can crochet a complete set of five pot holders (or trivets) and a basket for storage.

This website is reader-supported and contains affiliate links. As an Amazon Associate, I earn from qualifying purchases. Find my affiliate disclosure here.
These cotton yarn kitchen pads are ideal for daily use, serving as pot holders, trivets, or hot pads. They also make a thoughtful crochet gift.
I made these pot holders with some super bulky cotton yarn, which is perfect for heat resistance. It lets me handle hot dishes safely when I’m baking or cooking. Plus, they add style to my dining counter when I use them with hot pots!

Explore More Home Decor Patterns


Pot Holder Crochet Pattern
These are super handy and versatile for your daily kitchen needs. As mentioned above, they can be trivets, pot holders, coasters, or hot pads.
If you use thick cotton yarn, they’ll be tough, heat-resistant, and easy to keep clean. If they get dirty, toss them in the washing machine with your regular laundry.
The size is perfect for everyday kitchen use as hot pads, but if you want something smaller to use as drink coasters, you can make fewer rounds while crocheting.

About the Pattern
This pot holder crochet pattern uses US Crochet Terminology.
Skill Level: Intermediate.
A note on skills: The waistcoat single crochet on the round can be intricate for beginners. However, if you’re up to the challenge, this pot holder crochet pattern is a small project, perfect for practicing.
Materials:
- Super Bulky (#6) Cotton Yarn: I used Mac-RE-MÉ Recycled cotton by Lion Brand. It took approximately 39 yards (36 m) to make one pot holder and 110 yards (101 m) to make the basket.
- 9 mm (US M/13) crochet hook
- A big-eyed tapestry needle
- Stitch marker – mark the first stitch in every round, moving it up as you go.
- Scissors
About Yarn Substitutions:
This pot holder crochet pattern will work better when you use 100% cotton yarns to be heat resistant. If you use a different yarn or macramé cords, please ensure that the dominant fiber content is cotton and at least 4mm in size.
Here are a few recommended substitutes:
- Hoooked Spesso Chunky Yarn
- NOANTA 4mm Macrame cord (gorgeous natural hues)
- Likeecords 4mm Macrame Cord
Technique Highlights & Project Size:
- This pattern is worked in continuous rounds, meaning there is no need to join with a slip stitch.
- Starting at round #4, the pattern increases are intentionally placed unorganized in every other round to make the finished circle perfectly round instead of a hexagon.
- Use a stitch marker to mark the first stitch in each round, moving it up as you go.
- Stitch Tension: Using the suggested yarn and hook size, the pattern’s first five rounds will measure about 4.5 inches (12 cm) in diameter across the center.
- Finished size: the diameter of a finished pot holder is approximately 7.5 inches (19 cm), and the basket is about 9.5 inches (24 cm) in diameter and 4 inches (10 cm) tall.

Purchase a PDF Download
- Inexpensive (costs less than a coffee)
- Ad-free
- Print-friendly
Stitch Abbreviations:
- bpdc: back post double crochet
- ch(s): chain(s)
- dc: double crochet
- FO: Fasten off
- fpdc: front post double crochet
- inc: increase – two waistcoat single crochet stitches in the same stitch.
- sc: waistcoat single crochet (see “special stitches” section)
- sl st: slip stitch
- sk: skip
- [ ]: stitch count.
- ( ): repeat the instructions within parenthesis as many times as instructed.

Instructions
This pot holder crochet pattern uses the waistcoat single crochet stitch in every round. If you already know this stitch, you can go ahead and skip to the pot holder pattern. Below, there is also a printable card with the instructions.
Creating the waistcoat sc st
The waistcoat stitch is a simple, knit-looking single crochet stitch that’s a breeze once you get the hang of it. Here is how you create the waistcoat stitch:
- Insert the hook between the “v” legs of the single crochet stitch (not on top of the stitch).
- Draw it to the back of the work and yarn over.
- Pull up a tall loop, about 1 inch/2.5 cm (with super bulky yarn), and complete the single crochet stitch as usual.


Make the pot holder
Round #1: sc 6 in a magic circle.
Round #2: inc 6x. [12]
Round #3: (inc, sc) 6x. [18]
Crochet Tip: If it becomes difficult to find where to insert the hook in the first few rounds, mark it with stitch markers or a strand of contrasting-colored yarn as soon as you finish each stitch.

Round #4: sc, (inc, sc 2) 5x, inc, sc. [24]
Round #5: (inc, sc 3) 6x. [30]
Round #6: sc 3, (inc, sc 4) 5x, inc, sc. [36]
Round #7: (inc, sc 5) 6x. [42]
Round #8: sc 4, (inc, sc 6) 5x, inc, sc 2. [48]
Round #9: (inc, sc 7) 6x. [54]
Round #10: sk one st (to avoid a bump on the edge), sl st around [53].
Cut the yarn, leaving a 5” (13 cm) long tail. Then, FO with an invisible finish and weave-in all leftover ends to make this pot holder crochet pattern neat.

Creating the invisible finish:
- Pull the tail through the last stitch without making a knot.
- Then, tread the big-eyed needle with the yarn tail.
- Next, skip one stitch and insert the needle, back to front, through both loops of the next stitch (photo #1).
- Return to the stitch where the tail emerges. Insert the needle into that stitch, drawing it to the back of the work under the layer of stitches on the edge (photo #2).
- To finish, weave in the ends at the back of the work, making it as neat as possible. Tying a knot is unnecessary if you weave it in back and forth at least twice (photo #3).


Basket (Optional)
The basket can be an addition to the pot holder crochet pattern to store your pads or for gifts. The siding is crocheted with the fpdc and bpdc stitches or basket weave stitch.
Creating the fpdc:
- Yarn over and insert the hook (front to back) in the space between the next two stitches.
- Bring the hook back to the front around the post of the next stitch.
- To complete the double crochet stitch, you yarn over again, pull up a loop, yarn over one more time, and pull through two twice.
Creating the bpdc:
- Yarn over and insert the hook (back to front) in the space between the next two stitches.
- Bring the hook to the back of the work around the post of the next stitch.
- To complete the double crochet stitch, yarn over again, pull up a loop, yarn over one more time, and pull through two twice.
Instructions for the basket:
Round 1-9: Follow the pot holder crochet pattern instructions above.
Round #10: sc 6, (inc, sc 8) 5x, inc, sc 2, sl st to join. [60]
Next, you’re going to crochet the siding of the basket.
Round #11: ch 3 (counts as a dc st), dc in blo around. [60]
Round #12: See the written instructions for the fpdc and bpdc below. Ch 3 to start (counts as a dc st), (fpdc in the next st, bpdc in the next st) around until one st remains, fpdc, sl st to initial ch 3 to join. [60]
Round #13: ch 3 (counts as a dc st), (bpdc in the next st, fpdc in the next st) around until one st remains, bpdc, sl st to initial ch 3 to join. [60]
Round #14-15: repeat rounds 12 and 13. Cut the yarn. FO with the invisible finishing (instructions above).
Tip: A 15-round basket can hold five trivets. Add additional front and back post stitch rounds to increase height and to fit trivets.


Your pot holder crochet pattern is done. I hope you enjoyed creating this functional kitchen set for yourself or as a gift.
More Free Patterns
- Crochet Heart Coaster
- Crochet Shamrock Washcloth
- Crochet Snowflake Doily
- Easy Crochet Coaster
- Crochet Heart Doily
- Crochet Soap Saver Pouch

What to do next
- Comment on this post: I always read comments and reply to all questions posted on the blog, and I love it when you stop by to say hello.
- Share your project: if you make this or any of my other patterns, tag me on Instagram or Facebook, or use the hashtag #zamiguzmakers. I love seeing what you make.
- Pin it now: Are you not ready to make it yet? You can use the above image to Pin it to your crochet boards, or follow me on Pinterest for more.
- Join The Makers community: Join my community group on Facebook and be the first to know about pattern releases and other crochet-related content.
Would you rather bookmark this blog post for later? You can create a free Grow.me account and use the “heart” on the left-hand side of your screen to save it. It’s easy to have your internet favorites bookmarked in one place.

Pot Holder Crochet Pattern with Basket
This is an easy-to-print card with the pot holder crochet pattern and instructions on how to make the basket. If you're unfamiliar with the stitches and abbreviations in this pattern, check the blog post above for the details.
Materials
- Super Bulky (6) Cotton Yarn
- Tapestry needle
- Stitch marker
Tools
- 9 mm (US M/13) hook
- Scissors
Instructions
Make the potholder.
- Round #1: sc 6 in a magic circle.

- Round #2: inc 6x. [12]
- Round #3: (inc, sc) 6x. [18]
- Round #4: sc, (inc, sc 2) 5x, inc, sc. [24]

- Round #5: (inc, sc 3) 6x. [30]
- Round #6: sc 3, (inc, sc 4) 5x, inc, sc. [36]
- Round #7: (inc, sc 5) 6x. [42]
- Round #8: sc 4, (inc, sc 6) 5x, inc, sc 2. [48]
- Round #9: (inc, sc 7) 6x. [54]
- Round #10: sk one st (to avoid a bump on the edge), sl st around [53].
- Cut the yarn, leaving a 5” (13 cm) long tail. Then, FO with an invisible finish and weave-in all leftover ends.


Make the basket:
- Round 1-9: Follow the pot holder crochet pattern instructions above.
- Round #10: sc 6, (inc, sc 8) 5x, inc, sc 2, sl st to join. [60]
- Next, you’re going to crochet the siding of the basket.
- Round #11: ch 3 (counts as a dc st), dc in blo around. [60]
- Round #12: ch 3 (counts as a dc st), (fpdc in the next st, bpdc in the next st) around until one st remains, fpdc, sl st to initial ch 3 to join. [60]
- Round #13: ch 3 (counts as a dc st), (bpdc in the next st, fpdc in the next st) around until one st remains, bpdc, sl st to initial ch 3 to join. [60]
- Round #14-15: repeat rounds 12 and 13. Cut the yarn. FO with the invisible finishing (instructions in the blog post above). Weave in the ends.


Notes
- This pattern uses US Crochet Terminology.
- Skill Level: Intermediate.
- This pattern is worked in continuous rounds, meaning there is no need to join with a slip stitch.
- Starting at round #4, the pattern increases are intentionally placed unorganized in every other round to make the finished circle perfectly round instead of a hexagon.
- Use a stitch marker to mark the first stitch in each round, moving it up as you go.
- Finished project size: the diameter of a finished pot holder is approximately 7.5 inches (19 cm), and the basket is about 9.5 inches (24 cm) in diameter and 4 inches (10 cm) tall.
- Stitch Tension: Using the suggested yarn and hook size, the pattern's first five rounds will measure about 4.5 inches (12 cm) in diameter across the center.


