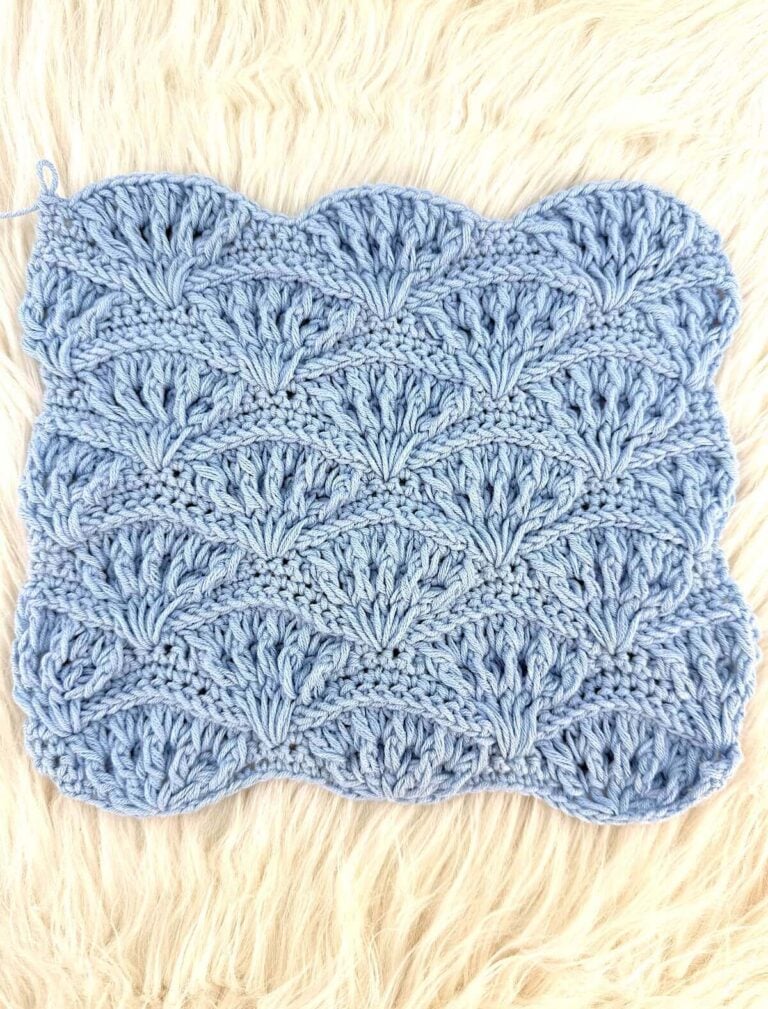
How to Crochet a Granny Square
Learn how to crochet a granny square with this easy, written tutorial. Granny squares are one of the most traditional crochet motifs and consist only of double crochet and chain stitches.

This website is reader-supported and contains affiliate links. As an Amazon Associate, I earn from qualifying purchases. Find my affiliate disclosure here.
These fun, old-fashioned motifs are worked in rounds, starting from the center and going outwards. If you are a beginner, chances are granny squares are one of the first crochet projects you will learn.
The construction of a granny square is straightforward. It relies upon very beginner-friendly stitches that are not very elaborate. As mentioned above, you will only use chains and double crochets for granny squares.
The double crochet stitches will form a “cluster,” which we call every block of three double crochets in the pattern. The chains create the transition spaces between the clusters and the corners.

More Stitches & Tutorials


How to Crochet a Granny Square
Keep scrolling for the detailed instructions, but here are the basic steps:
- Firstly, you’ll create a magic circle.
- Secondly, you’ll crochet round 1 in the magic circle, creating the first 4 double crochet clusters as the foundation of your square.
- Thirdly, you’ll crochet round 3: 1 three double crochet stitches for each chain 1 space and increase in the corners with (three double crochet stitches + 2 chains + three double crochet stitches).
- Next, use the round 3 concept as a repeat round for the remaining rounds.
- Then, add as many rounds as you like to the size you want your granny square to be.

Materials
- Yarn: worsted weight (4) non-splitting yarn works better for beginners
- Crochet Hook: check the label as a guideline for the size of the hook
- Tapestry needle: to weave in ends
- Scissors
Pattern Notes
- The level of difficulty for this pattern is easy. As long as you are familiar with these stitches and techniques, you will be good to go: magic circle, chain, double crochet, and slip stitch.
- This tutorial was written using US crochet terminology.
- First, follow the written instructions with step-by-step photos, and then check out the abbreviated pattern at the end of this post.
Creating a Granny Stitch
- This tutorial was created using the classic technique. The classic granny square is built with chain 1 spaces, clusters, and ch 2 spaces in the corners.
- A cluster consists of a group of three double crochet stitches. So, the math concept in a classic granny square round is very simple: a cluster for every ch 1 space, a ch 1 space for every cluster, corners with 1 cluster + chain 2 + 1 cluster.
- The increases work by making (three double crochets + 2 chains + three double crochets ) in the corners. Each round will have 4 extra clusters.

Abbreviations (US Terms)
- ch(s): chain(s)
- dc: double crochet
- mc: magic circle
- sl st: slip stitch
- st(s): stitch(s)
- dc cluster: a group of three double crochets in the same chain space
- *: repeat instructions after the asterisk as indicated
- ( ): crochet instructions between parenthesis as instructed
Instructions

Crochet granny squares never get old. Here is the step by step on how to crochet a granny square and create your first project using this classic motif.
Total Time: 15 minutes
-
Create a magic circle

Begin with the magic circle. Then chain 3. The initial 3 chains count as the first double crochet stitch for the first cluster.
There are a few ways to start a granny square, or any other round crochet project. My preferred one is to create a magic circle.
-
Make the first dc cluster
Crochet two double crochets in the magic circle. Chain 2.
The chain spaces in the first round are what establish the corners of the granny square. First, you will crochet one block (cluster) of three double crochet stitches. Remember, the first three chains count as a double crochet.
-
Crochet the second double crochet cluster
Make the second cluster, then chain 2. At this point, with the first and second clusters and 2 chains between them, you have started one corner. This is all done inside the magic circle.
-
Complete the first round of the granny square
Repeat the previous step to complete the first round: (3 dc, ch 2) 2 more times.
Each set of chain 2 in the first row will be for the corners. As soon as you finish this first round, a tiny square will form.At the end of this round, join with a slip stitch to initial ch 3. Pull the tail of the magic circle to tighten up the circle. You may return later with a darning needle to secure that tail at the back of the work.
-
Chain 4 and make round two
In this round, you will start making ch spaces for clusters on the sides of the granny squares, not only in the corners.
Now, if you look closely, you will see that you need to skip a cluster immediately to start round two. So, let’s follow the math logic mentioned earlier in this article.
From here on, you will need one chain for every cluster of three double crochet. And remember, every time you start a new round, you will need a chain 3. The “chain 3” will count as a double crochet.
That said, if you need one chain space for every cluster and three chains to start a round, you will need to chain 4 to start the second round.
When you complete this round, three of those four chains will count as double crochets for the last cluster. The remaining chain will be the first chain 1 space in this round.
Does it sound confusing? It will make more sense once you complete this round. -
Crochet the first corner in round two
(3 double crochet stitches, 2 chains, 3 double crochet stitches) in next chain 2 space. Chain 1.
The corners of a crochet granny square, like mentioned earlier, are the spots where you place the increases. That’s the reason why you will place two clusters in the corners.
To separate those two clusters, you will crochet 2 chains, like you did in first round. Two chains + two clusters are the equivalent of one chain for each cluster and one cluster for each chain, got it?
-
Complete round two of the granny square
To complete round 2, you will repeat the previous step 2 more times. Then (3 dc, ch 2, 2 dc) in last ch 2 space. You will then join with a slip stitch to initial ch 3.
As I mentioned in step five, it would make more sense once you completed this round. Look at it now and you can tell: the last two double crochet stitches, plus the “chain 3” you used to join this round, completed the last cluster.
-
Crochet the third round
(ch 3, 2 dc) in next ch sp, ch 1, *(3 dc, ch 2, 3 dc) in next ch sp, ch 1, 3 dc in next ch sp, ch 1, repeat from * 2 more times, (3 dc, ch 2, 3 dc) in next ch sp, ch 1, join with a sl st to initial ch 3.
Your tiny project is starting to look a lot more like a granny square. Continue following the logic:
one cluster for every chain 1 space
one chain 1 space for every cluster
two clusters and a chain 2 space between them in the corners.You started the last round with a ch 1 space. Now, you will start round 3 with a 3 double crochet stitch cluster.
For the rest of the pattern, you will start with a chain 1 space in every even round and a cluster in every odd round.
At this and any further rounds, you will be making clusters on the sides of the granny square, too.
-
Add more rounds

You will repeat all you have done in round 3 to add more rounds. Continue with the “one cluster for every chain 1 space and one chain 1 space for every cluster” logic.
To make the corners, add two clusters and a chain 2 space in the middle of them. Continue adding as many rounds as needed to achieve your desired square block size.


Estimated Cost: 3 USD
Supply:
- Yarn of your preference (see notes above)
Tools:
- Crochet hook (see notes above)
Materials: Scissors to cut ends
Abbreviated pattern:
- Rnd1: ch 3, 2 dc, ch 2, (3 dc, ch 2) 3 more times, join with a slip st to initial ch 3.
- Now you will start with ch 4 (ch 3 for a dc and another ch for the ch space).
- Rnd2: ch 4, *(3 dc, ch 2, 3 dc) in next ch sp, ch 1, repeat from * 2 more times, (3 dc, ch 2, 2 dc) in last ch sp, join with a sl st to initial ch 3.
- Rnd3: ch 3, 2 dc in next ch sp, ch 1, *(3 dc, ch 2, 3 dc) in next ch sp, ch 1, 3 dc in next ch sp, ch 1, repeat from * 2 more times, (3 dc, ch 2, 3 dc) in next ch sp, ch 1, join with a sl st to initial ch 3.
- Fasten Off. Cut the yarn. Or continue to add rows.
Explore Granny Square Patterns
Here are some patterns you’ll love if you’re a fan of granny squares and the granny stitch:
- Classic Granny Square Blanket
- Granny Square Bucket Hat
- Flower Granny Squares
- C2C Granny Stitch Blanket

FAQ
What are Granny Squares Used for?
They can be used for many different crochet projects, but the most common ones are these.
- Garments, such as cardigans, tops, pants, and even dresses.
- Purses, bags and totes.
- Home decoration accessories, such s pillows, blankets (of course) and even lampshades.
- You can even make stuffed animals. If you type “granny square projects” on Pinterest or google, you will see.
How Big Should a Granny Square Be?
A classic granny square usually measures approximately 8” x 8” (20 x 20 cm) to 12” x 12” (30 x 30 cm). However, some factors will determine its size, such as yarn weight, hook size, tension, and the number of rows it will have.
There are no rules about how big it should be. To achieve that size with this pattern, follow the instructions above and add as many rounds as needed.
What Yarns are Best for Granny Squares?
Acrylic or Acrylic blend yarn is usually a good choice because it’s durable and affordable. But remember that there are no rules about what kind of yarn is best. Ultimately, the yarn you will use should be the one that best fits your taste and your type of project. Here are a few of my favorite yarns :
- Vana’s Choice by Lion Brand is premium 100% acrylic and comes in beautiful shades.
- Red Heart Super Saver is also 100% acrylic, easy to work with, and affordable.
- Hue and Me by Lion Brand, I used it for my Rusty Cottage Classic Granny Square Blanket. It’s a wool and acrylic blend and is amazingly soft.
How Many Classic Granny Squares to Make a Blanket?
This also depends on a few factors, such as what kind of blanket you are making and who it is for. But here are some ideas.
- You will need 4 granny squares (8″ x 8″) to make Stroller/Baby blankets, which, when assembled, make a blanket of 2 by 2 squares.
- It takes 25 squares (8″ x 8″) to make a Receiving blanket, which is 5 by 5 squares when assembled.
- When assembled, you will need 37 squares (8″ x 8″), 5 by 7, for a crib blanket.
- For throw blankets, you will need 42 squares (8″ x 8″ ), which is 6 by 7 when assembled.
What To Do Next
- Comment on this post: I always read comments and reply to all questions posted on the blog and I love it when you stop by to say hello.
- Share your project: if you make this or any of my other patterns, tag me on Instagram or Facebook, or use the hashtag #zamiguzmakers. I love seeing what you make.
- Pin it now: Are you not ready to make it yet? You can use the above image to Pin it to your crochet boards, or follow me on Pinterest for more.
- Join The Makers community: Join my community group on Facebook and be the first to know about pattern releases and other crochet-related content.
Would you rather bookmark this blog post for later? You can create a free Grow.me account and use the “heart” on the left-hand side of your screen to save it. It’s easy to have your internet favorites bookmarked in one place.
Save it for later! Pin this tutorial on how to learn how to crochet a granny square here: