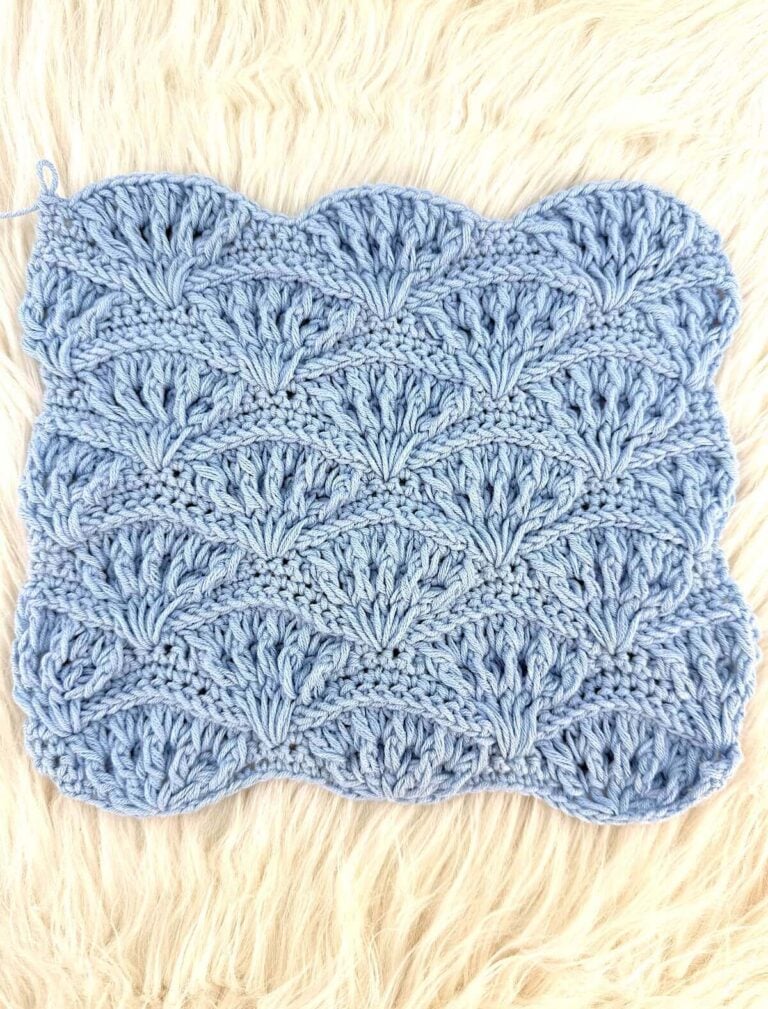
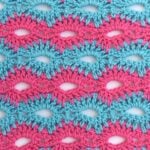
The ripple Harlequin crochet stitch is a beautifully textured pattern that creates a ripple or chevron effect, especially when you alternate yarn colors every two rows, starting with row two. It’s a great choice for blankets, scarves, and other projects where you want color and texture to be the focus.

This website is reader-supported and contains affiliate links. As an Amazon Associate, I earn from qualifying purchases. Find my affiliate disclosure here.
I call this variation the Ripple Harlequin Stitch because changing the placement of the traditional Harlequin shells creates continuous peaks and valleys instead of the classic wheel-shaped motifs.
I particularly enjoy this stitch in multiple colors because each two-row group emphasizes the zigzag pattern. Alternatively, you can crochet it in a single color for a more understated look that draws attention to the texture.
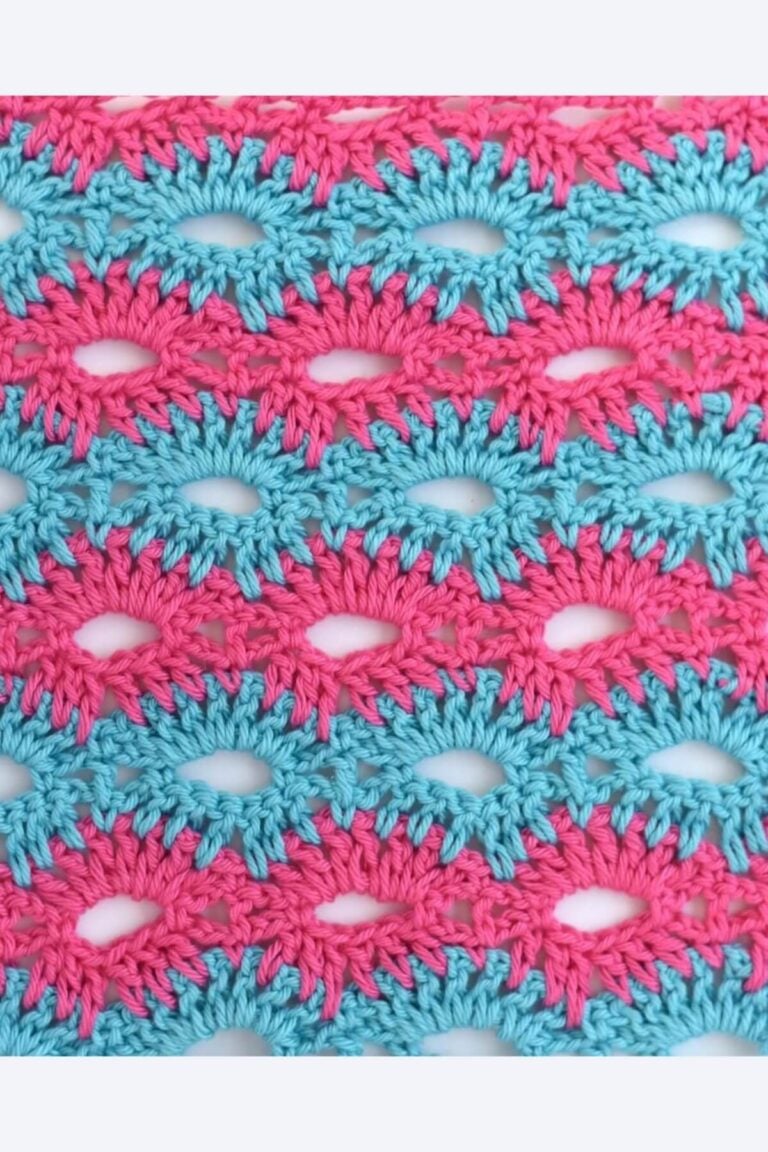
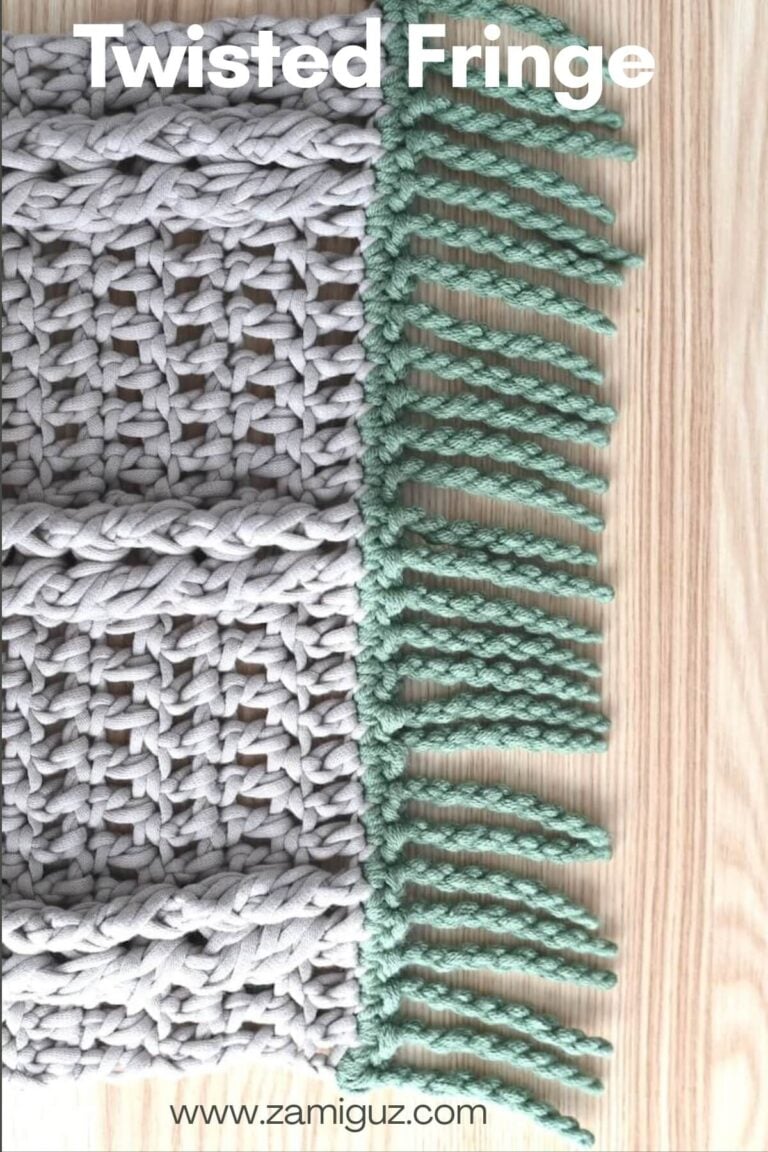
If you enjoy experimenting with textured crochet stitches and color combinations, you may also like my tutorials on the Open Catherine’s Wheel Stitch and the Lemon Peel Stitch. Each offers a different way to play with texture and color in your crochet projects.
Tutorial Summary
- Stitch name: Ripple Harlequin Crochet Stitch
- Skill level: Intermediate
- Foundation chain: Multiples of 6 + 6
- Row repeat: Row 2s and 3
- Best for: Afghans, baby blankets, and scarves
- Tutorial includes: Written instructions, stitch diagram, and step-by-step photos
- Construction: Worked flat in horizontal turning rows
- Stitches used: Chain, double crochet, and single crochet
- Crochet terminology: US terms
- Recommended yarn: Worsted weight and bulky yarns.

The Concept of the Ripple Harlequin Crochet Stitch
The pattern is created by alternating rows of 7-double-crochet shells with rows of dc7tog (double crochet 7 together) stitches. These increases and decreases work together to form the design’s distinctive peaks and valleys.
What distinguishes the ripple Harlequin stitch from the traditional Harlequin stitch is the placement of the shells. In the traditional version, the 7-double-crochet shells are positioned above the dc7tog stitches, creating the familiar rounded wheel or diamond-like motifs.
In this variation, I arrange the stitches differently so that the 7-double-crochet shells align above one another. This small change transforms the fabric’s appearance, creating the continuous ripple pattern you see in my sample.
Stitch Diagram
Here’s a stitch chart to help you visualize the Ripple Harlequin stitch pattern and the placement of each stitch. It’s especially helpful for visual learners and can be used as a handy reference alongside the step-by-step written instructions below.

Ripple Harlequin Crochet Stitch Instructions
The terms and abbreviations in this stitch tutorial use US crochet terminology. If you need to check abbreviations, go get my Printable Guide to Abbreviations & Terms (Free PDF download).
The pattern foundation starts with any multiples of 6 plus 4 chains. The pictured sample has 40 chains.
Note on the yarn: The yarn used in my swatch was 24/7 Worsted Weight Mercerized Cotton my Lion Brand, in colors: spruce, papaya, ecru, cherry pop, goldenrod, beechnut, and café au lait.
Maggie’s Pro Tip: To create the beautiful ripple effect shown in my sample, change yarn colors every two rows, beginning with Row 2.

Foundation and Row 1:
Dc 3 into the 4th ch from hook, *sk 2 chs, sc into the next ch, sk 2 chs, dc 7 into the next ch. Rep from the asterisk until 6 chs rem, then sk 2 chs, sc into the next ch, sk 2 chs, dc 4 into the last ch, ch 1, and turn.

Row 2:
Sc into the 1st st, *ch 3, dc7tog, ch 3, sc into the next st. Repeat from the asterisk across, ch 3 (counts as a dc), and turn.

Row 3:
Dc 3 into the 1st sc, *sk next 3 chs, sc into the eye (top) of the dc7tog from the previous row, sk next 3 chs, dc 7 into the next sc. Repeat from the asterisk across, then dc 4 into the last sc st.
Repeat Rows 2 and 3 until your project reaches the desired length.

And just like that, we’re done with this tutorial. The Ripple Harlequin Crochet Stitch is a fun way to combine texture and color in one eye-catching pattern. Once you get comfortable with the two-row repeat, it’s easy to keep going and customize it for projects of all sizes.
Try different color combinations to make the ripple effect your own, or use a single color for a more subtle, textured look. I hope you enjoy adding this beautiful stitch to your crochet collection and finding creative ways to use it in blankets, scarves, and more!
Happy crocheting!
Explore More Crochet Stitches


Pin, Share, and Comment
- Comment on this post: I always read comments and reply to all questions posted on the blog, and I love it when you take the time to stop by and say hello.
- Have you made this? Share your project if you make this or any of my other patterns, tag me on Instagram or Facebook, or use the hashtag #zamiguzmakers. I love seeing what you make.
- Pinit now: Are you not ready to make it yet? You can use the above image to pin it to your crochet boards or follow me on Pinterest for more.
- Join The Makers community: Join my community group on Facebook and be the first to know about pattern releases and other crochet-related content.
Would you rather bookmark this blog post for later? You can create a free Grow.me account and use the “heart” on the left-hand side of your screen to save it. It’s easy to have all your internet favorites in one place.
TERMS OF USE | COPYRIGHT
All pictures and written content in this blog post are the property of Zamiguz Handmade Creations by Magna Haskell (aka Maggie). This pattern is for personal use only. Copying, sharing, reselling, translating, publishing, altering, distributing, or reproducing this content and photography—or any part of it—in any form, online or offline, is prohibited. You may sell finished handmade items made from my crochet patterns, but please use your own photography to advertise them. I would appreciate it if you credited Zamiguz Handmade Creations @zamiguz as the pattern designer. Mass production is not permitted.