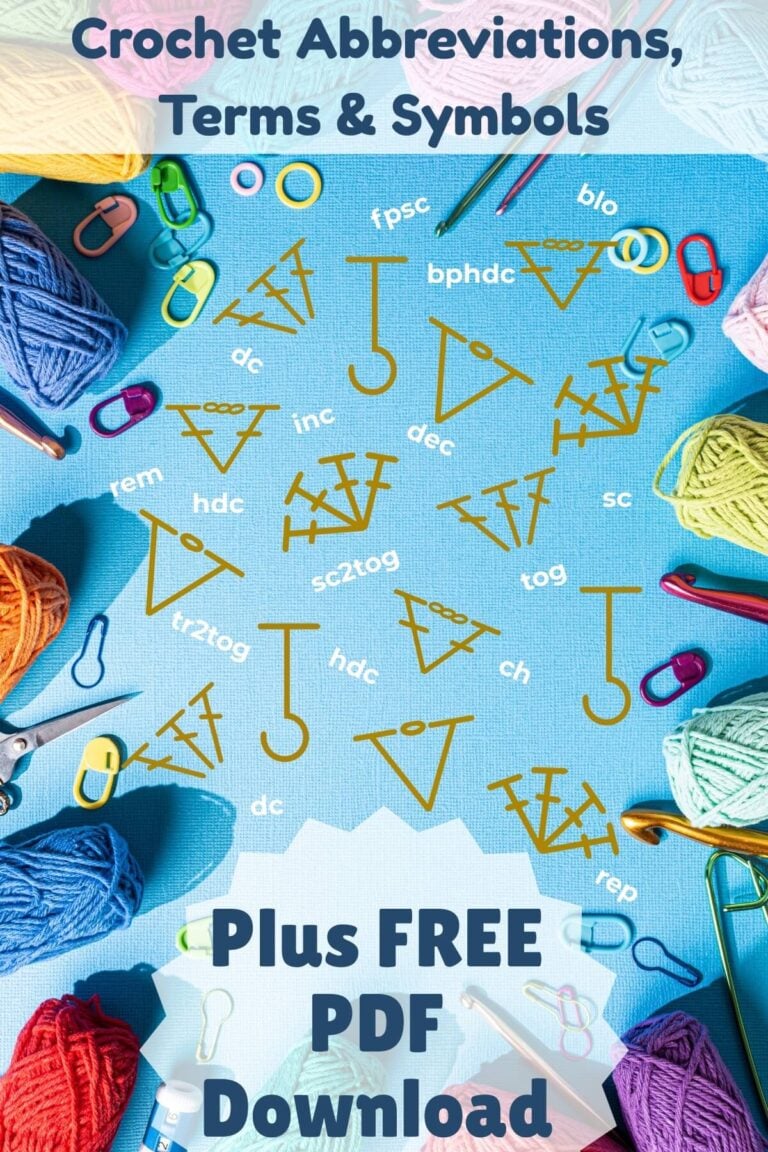
How to Crochet the Puff Stitch
With this tutorial you will learn how to crochet the puff stitch to make projects in rows or on the round, it is particularly simple to adapt it to different types of patterns. Puff stitches are one of the best stitch options you will have if you would like to give your crochet projects beautiful and fluffy textures.
In fact, this stitch can be used for a variety of projects: hats, blankets, scarves, you name it.
This post contains affiliate links. Should you choose to make a purchase out of those links I will earn a small commission, from qualifying purchases, at no extra cost to you. Find my affiliate disclosure here.
Another interesting fact about the puff stitch is that you can make it the size you want. All you have to do is pull up as many loops as you need to make it puffier or simply do it with less loops.
Also, it is good to know that in the crochet terms dictionary, the abbreviation for the crochet puff stitch is “ps” or “puff st”. Mostly, it depends where in the world you are, the terminology varies from country to country. Serious designers will always indicate in a pattern where from the terminology they are using is.
More Stitches & Techniques


What you’ll need:
- A Crochet Hook
- Yarn
Is the Puff Stitch Easy?
The crochet puff stitch is under the intermediate level of difficulty. If you are a completely beginner with crochet, I highly recommend you to master other easier stitches before learning the puff stitch.
Once you are familiar with the beginner friendly stitches, like: chain, single crochet, slip stitch and double crochet, you will be ready to adventure on the more complicated stitches, like the puff stitch, for example.
Pattern That Uses the Puff Stitch

How to crochet the puff stitch
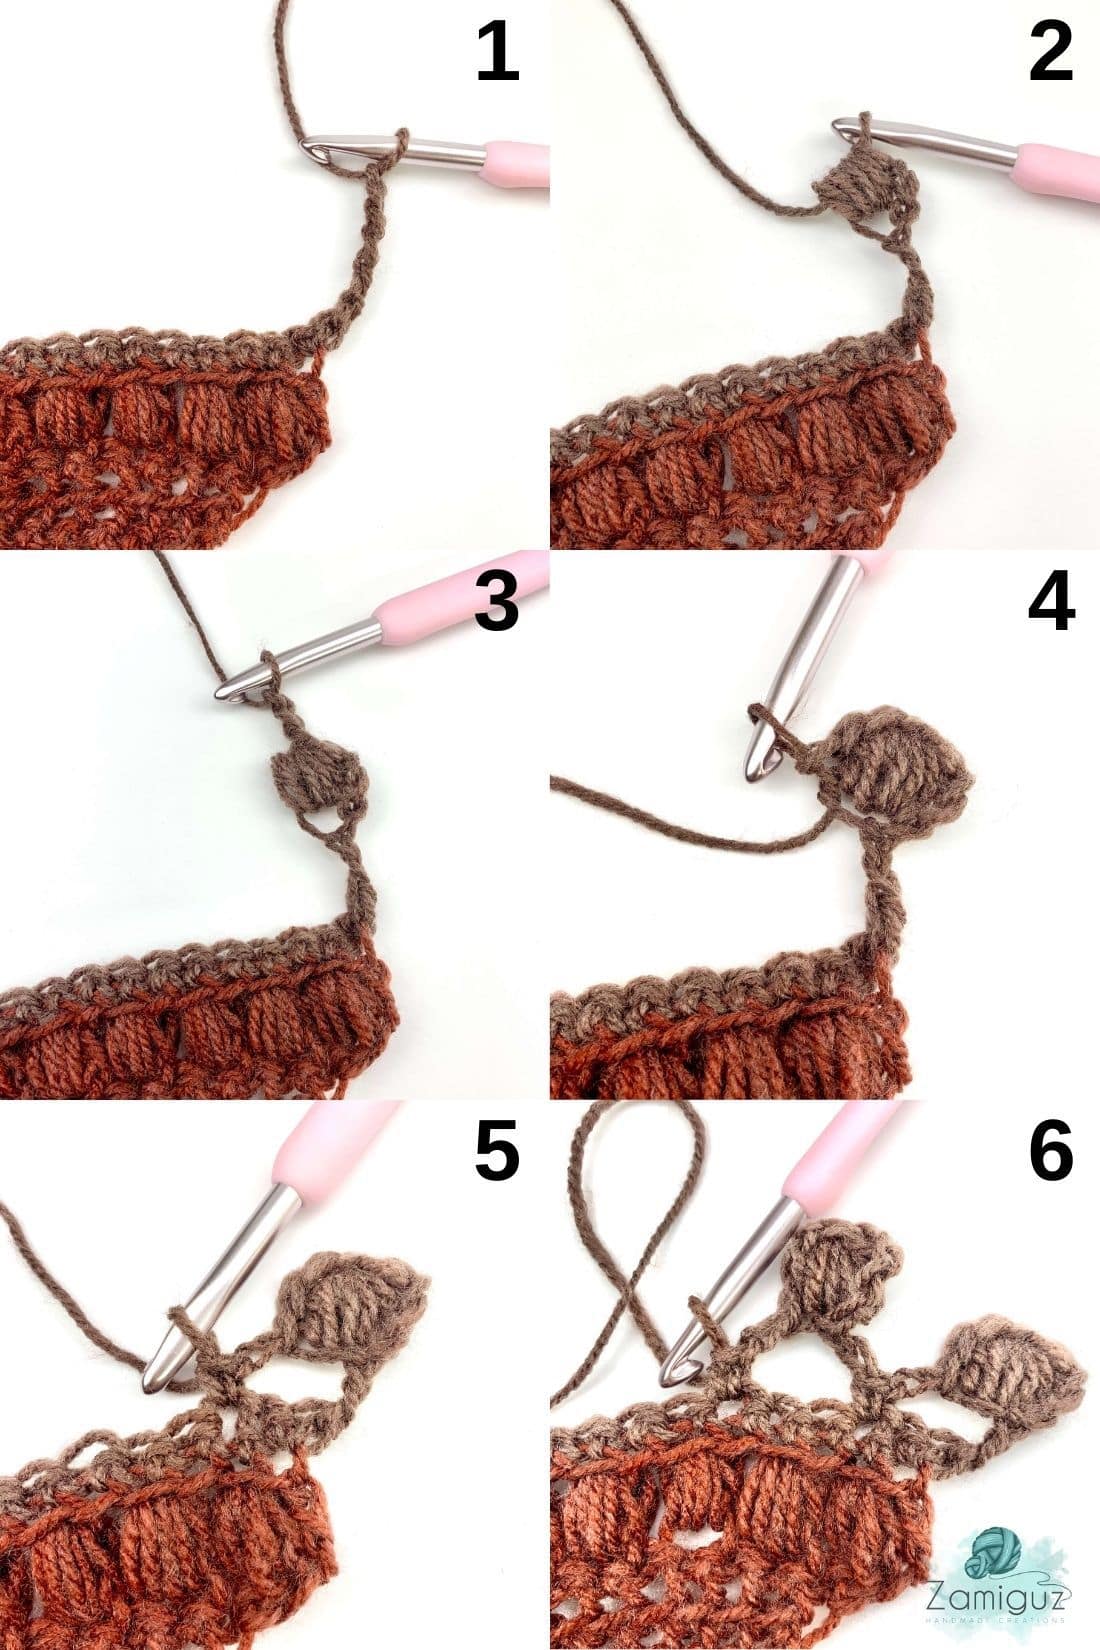
Crochet a foundation chain or, if you are following a specific pattern, follow instructions as indicated in the pattern on where to insert your hook to make your first puff stitch.
- Step 1: Yarn over and insert the hook in the stitch the puff stitch will be placed at, or follow the pattern instructions:

- Step 2: Currently you have three loops in your hook (see image above). Yarn over again:

- Step 3: Now you will pull through one loop only. After that, you will remain with three loops in your hook:

Repeat instructions 1-3 four more times in the same stitch
Particularly here is where you can change the “puffiness” of you puff stitch. In these tutorial, I tell you to repeat instructions four more times, but you could repeat it 2, 3 or 5 more times as well. The more loops you put in your hook, the puffier the stitch will be. Again, it all depends on the project you are working on or on your personal preference.
- Step 4: You will now have 11 loops in your hook. Yarn over, pull through all 11 loops.


Save it for later
Ways to Get Engaged
- Comment on this post: I always read comments and reply to all questions posted on the blog, and I love it when you stop by to say hello.
- Share your project: if you make this or any of my other patterns, tag me on Instagram or Facebook, or use the hashtag #zamiguzmakers. I love seeing what you make.
- Pin it now: Are you not ready to make it yet? You can use the above image to Pin it to your crochet boards or follow me on Pinterest for more.
- Join The Makers community: Join my community group on Facebook and be the first to know about pattern releases and other crochet-related content.
Would you rather bookmark this blog post for later? You can create a free Grow.me account and use the “heart” on the left-hand side of your screen to save it. It’s easy to have your internet favorites bookmarked in one place.